A few years ago (starting in May of 2016) I was tasked with optimizing the way electrophysiology (ephys) data is sorted in the lab. If you happen to be using Axona's1 dacqUSB in order to record ephys data, then this might be a project you are interested in. Back in 2016, Axona provided an update (Version 4.3 of Tint), which allowed users to run Tint in the background via the Command Prompt (CMD). BatchTINTV3 leverages this functionality to batch sort the ephys data using Tint's builtin KlustaKwik method.
Requirements
- Operating System (OS): BatchTINTV3 does not necessarily have any OS requirements, however Tint requires Windows. Thus I will recommend using Windows. Axona lists their compatible Windows versions2, however I do not believe the list is complete. I run Tint on Windows 10 perfectly fine.
- Python: this code was written using Python 3.7, however this compatibility really only relies on PyQt5, which requires Python 2.6+. Like I said, this was written in Python 3 so I suggest getting the latest version of Python3. It will make the installation process easier as PyQt5 used to be a pain to download in the older versions (3.4 for example). If you happen to have problems downloading PyQ5t, you will need to search for a wheel (.whl) file for PyQt5 for your version (of Python and OS).
Python Dependencies
- BatchTINTV3
- PyQt5
- PyQt5-sip
Installation
- Ensure that you have Tint downloaded, and that the Tint filepath is added to the Path environmental variable
- Navigate to the Environment Variables window (Control Panel -> System -> Advanced System Settings -> Environmental Variables)
- Edit the "Path" option in the System Variables list
- Add the filepath to tint.exe to this list, an example would be the following:
C:\Program Files (x86)\Axona\Tint
- I have uploaded BatchTINTV3 to PyPI, so you can install BatchTINTV3 using pip by performing the following command (case sensitive):
python -m pip install BatchTINTV3 - Now if you have installed it correctly you should be able to launch the GUI using the following command:
python -m BatchTINTV3
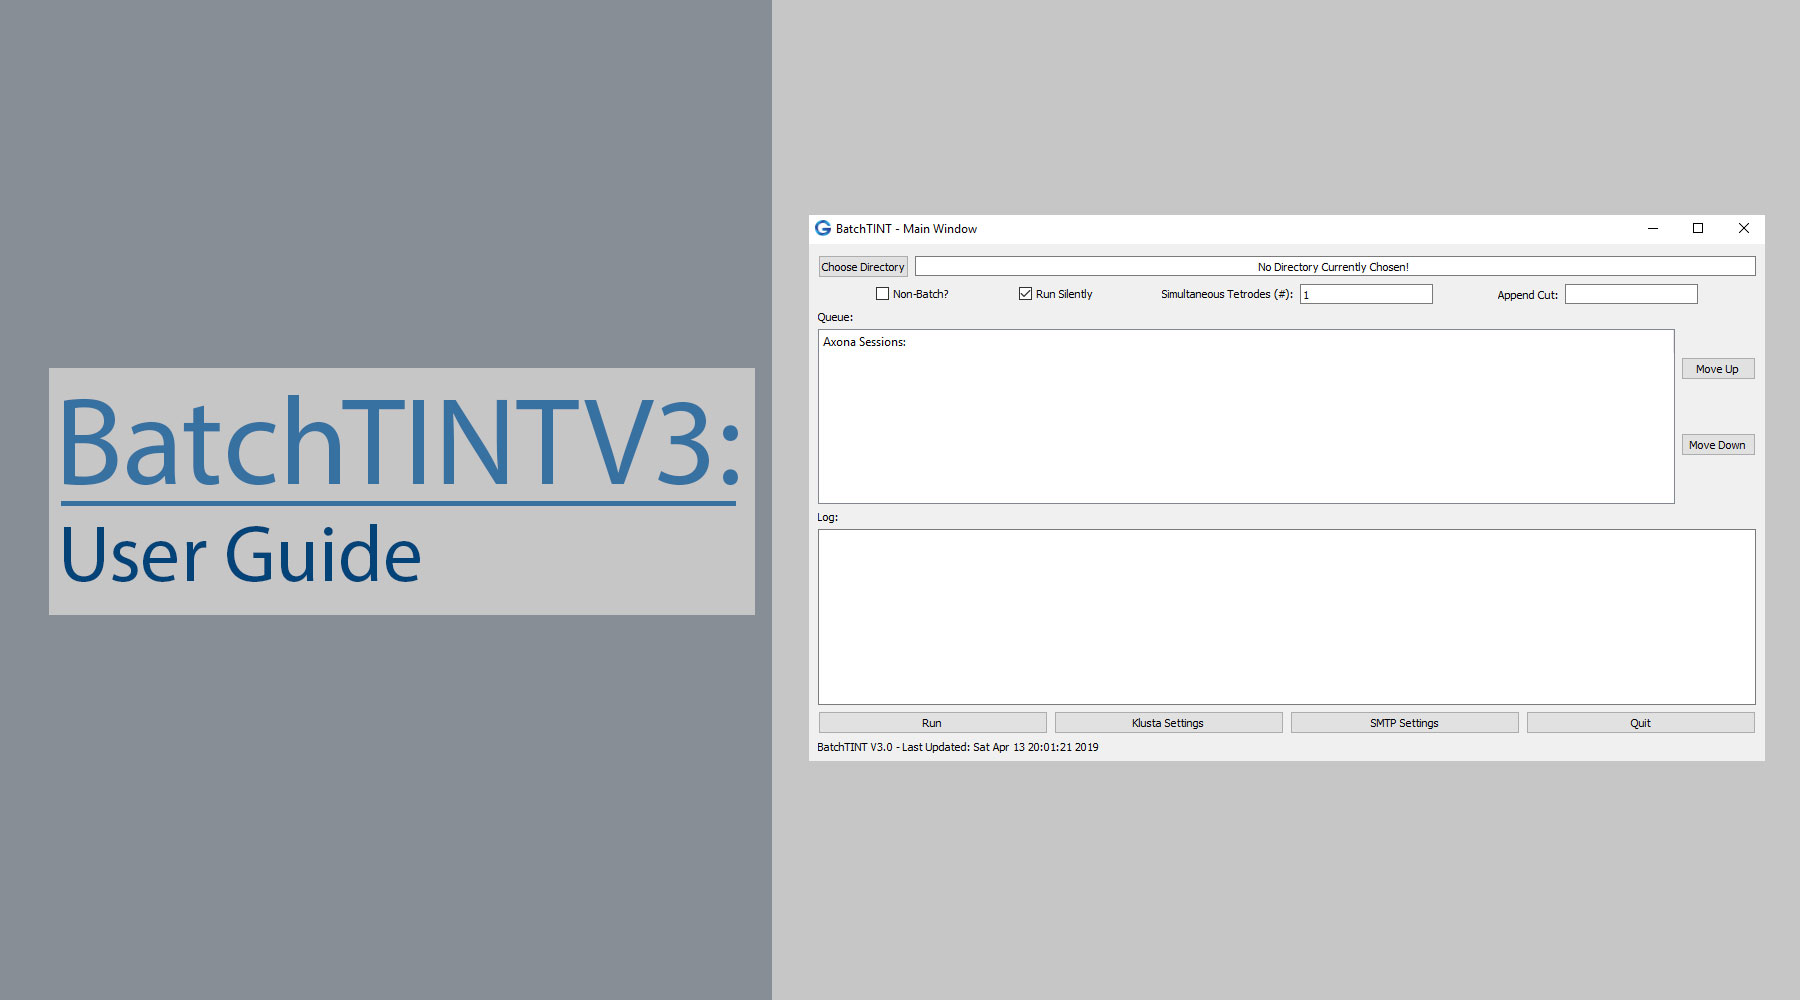
- If you have successfully opened BatchTINTV3 then you should see a main window that looks like the following below:

- If you have successfully opened BatchTINTV3 then you should see a main window that looks like the following below:
- Alternatively, I have uploaded the code to a GitHub repository4 so you can install using git with the following git command:
git clone "https://github.com/HussainiLab/BatchTINTV3.git"
Note: this command will download the Python package in whichever directory you are in within the command prompt.
References
- Axona's Company Website: http://www.axona.com
- Axona's Compatible Operating Systems: http://axona.com/support/faq#S1
- Python Downloads: https://www.python.org/downloads/
- BatchTINTV3 GitHub Repository: https://github.com/HussainiLab/BatchTINTV3